Now that the editing is behind you, let’s get ready for the next exciting step!

PAPER
We suggest that you print on a good quality thick card stock. At least 80-100lb (250-300gsm for EU/UK) or more. Make sure to check your home printer’s guidelines (if you are printing at home).
The actual paper that you print on will depend on the style of your wedding. Most designs look best on nice crisp white or ivory cardstock however, you can also use something with a bit more shine for glamour or a brown craft type cardstock for a rustic feel.
For the printing of your welcome boards or seating charts – this can be done at your local printer on either a thick cardboard or on a normal paper which you then stick to a mounting board. We suggest that you stick this paper with a good quality double sided tape to the mounting board so that you do not see glue patches on your final product.
[wc_divider style=”solid” line=”single” margin_top=”” margin_bottom=”” class=””][/wc_divider]
COLOUR
Keep in mind that computer screens and printers view colour in different modes, also computer screens are not calibrated which means that there can always be slight colour differences between what you see and what you print.
[wc_divider style=”solid” line=”single” margin_top=”” margin_bottom=”” class=””][/wc_divider]
PRINTING LETTER LAYOUT ONTO A4 PAPER
Luckily, this can be done easily, there will be just a small size discrepancy. When you open your pdf letter size file for printing
Go to >>> properties >> make sure you choose A4 as the paper size,
Go to >>> page handling & sizing >> choose ‘fit >>> and print!
[wc_divider style=”solid” line=”single” margin_top=”” margin_bottom=”” class=””][/wc_divider]
PRINTING OPTIONS
You have a few choices for printing your DIY editable templates.
>>> at home <<< or >>> local print shop<<< or >>> online printer eg. vistaprint.com etc.<<<
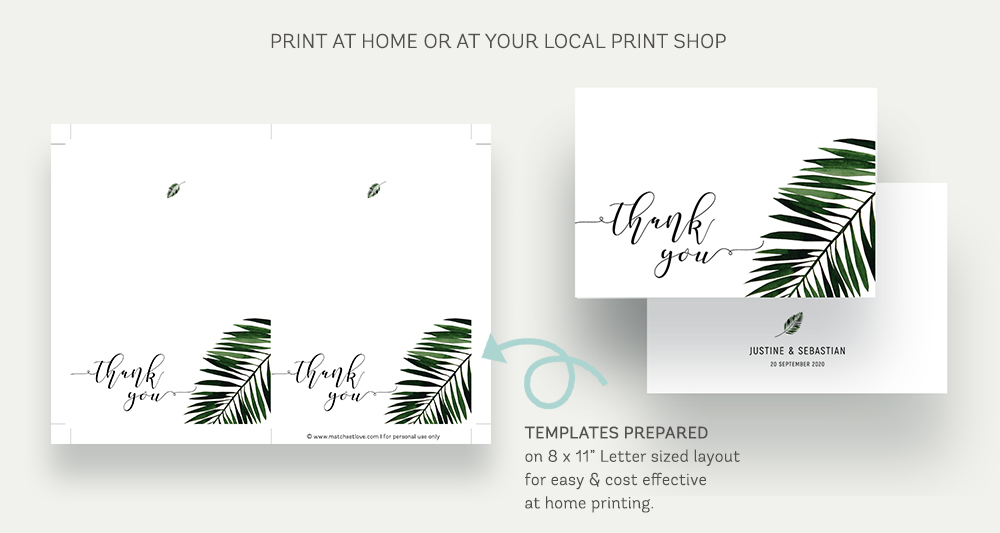
The least expensive option is printing at home. Most stationery items (except the big welcome boards etc.), has been laid out onto 8 x 11″ letter pages so that you can make most of your paper.
If you prefer to have your files printed at your local print shop or via an online print site we suggest that you ‘flatten’ your edited files before saving it to a USB stick or uploading it. Because you are dealing with an editable file, this will make sure that the text doesn’t disappear.
At the local print shop, you can choose the cardstock you want to have your files printed on and also request a sample print before committing to the whole order. At some of these shops, you can request that your files are trimmed at an extra fee.
If you would like to go the route of printing via an online print site there are a few things to keep in mind. Online printers could be a bit more expensive and you must also calculate extra shipping fees and shipping times. The types of files that you can upload to these sites may also vary and some for example only accept ‘single’ files, which means you have to print every item single instead of the prepared letter size version where you have 2 or more items (depending on what it is) per page.
[wc_divider style=”solid” line=”single” margin_top=”” margin_bottom=”” class=””][/wc_divider]
HOW TO FLATTEN YOUR PDF
>> Open your edited file in Adobe Acrobat Reader
>>> Click File >>>Click Print
>>> Select Adobe PDF in the printer settings and press OK
>>> The file will begin processing, after which you can enter a new file name and click Save.
>>> When you open the new file now, the layers will all be flat and you can now upload this file to your printer.
Please note that after you have flattened your file you will not be able to edit it again.
[wc_divider style=”solid” line=”single” margin_top=”” margin_bottom=”” class=””][/wc_divider]
TROUBLE SHOOTING
>> You uploaded your file and it was blank? A serious case of vanishing text. That is why we always recommend ‘flattening’ your PDF file, which means that your editable text is NOT editable anymore. See the section above on how to do this.
>> Your pages are not aligned? There can several reasons why your home printed files might not align correctly. Our files are designed to be centrally aligned, meaning that whether your paper size is US letter or A4, the template is designed in the center of the document. This ensures that when templates are printed on the reverse side, that they align with accuracy, give or take 1-2mm, which is the standard for home printing. Make sure:
>> that your ink cartridges have been properly aligned when they are installed.
>> Make sure that your print settings are set appropriately, set to ‘No Scaling’ or 100%
>> Make sure that you do not have any margins pre-set on your printer.
>> Make sure that your paper has been loaded properly.
[wc_divider style=”solid” line=”single” margin_top=”” margin_bottom=”” class=””][/wc_divider]
